2 minutes
Enabling BitLocker and BitLocker Screen Startup

This is a step by step guide for those who want to enable bitlocker on their main Windows c drive and also want to enable the BitLocker screen when booting up their machine.
Prerequisites:
For this you’ll need to have a TPM version of 1.2 or later.
Applies to:
- Windows 10
- Windows Server 2016
- Windows Server 2019
Implementation
- Open mmc.exe
- File > Add/Remove snap in
- Add into the selected snap-ins the “Local Computer Policy”
- Expand > Computer Configuration
- Administrative Templates
- Windows Components
- BitLocker Drive Encryption
- Operating System Drives
Double click on “Require additional authentication at startup” and enable it
Untick the “Allow BitLocker without a compatible TPM (requires a password or a startup key on a USB flash drive)
Double click on “Allow enhanced PINs for startup” and enable it.
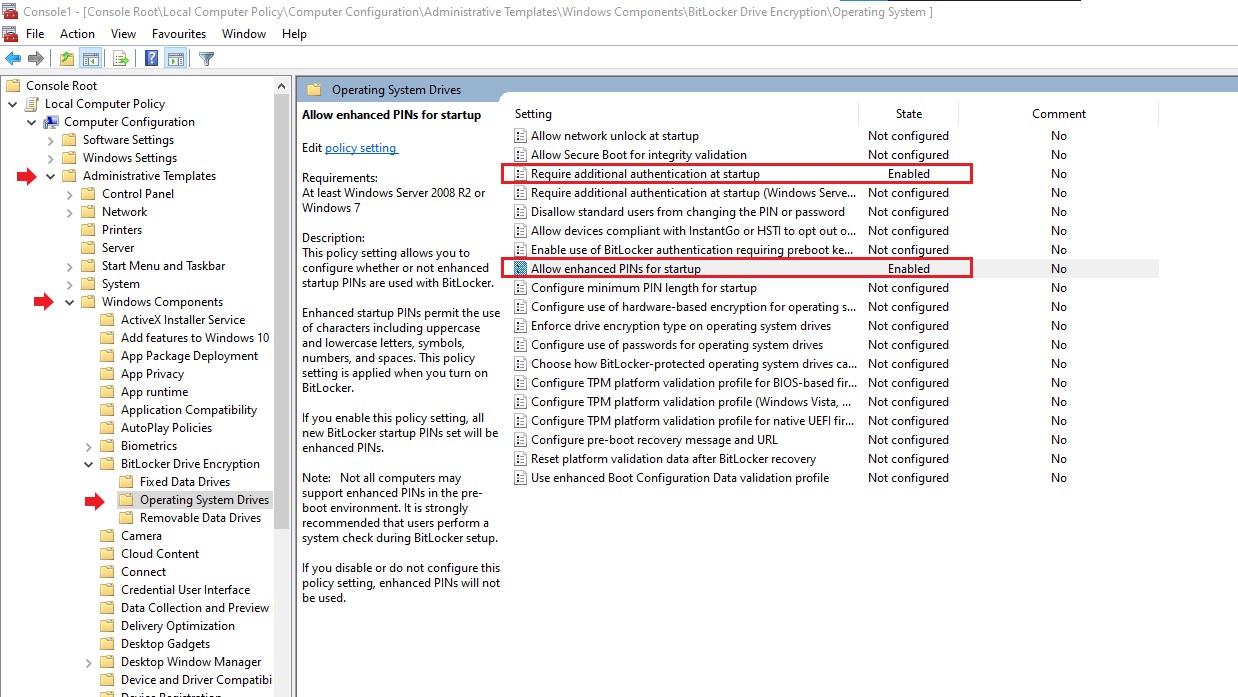
You can now close the mmc console without having to save it.
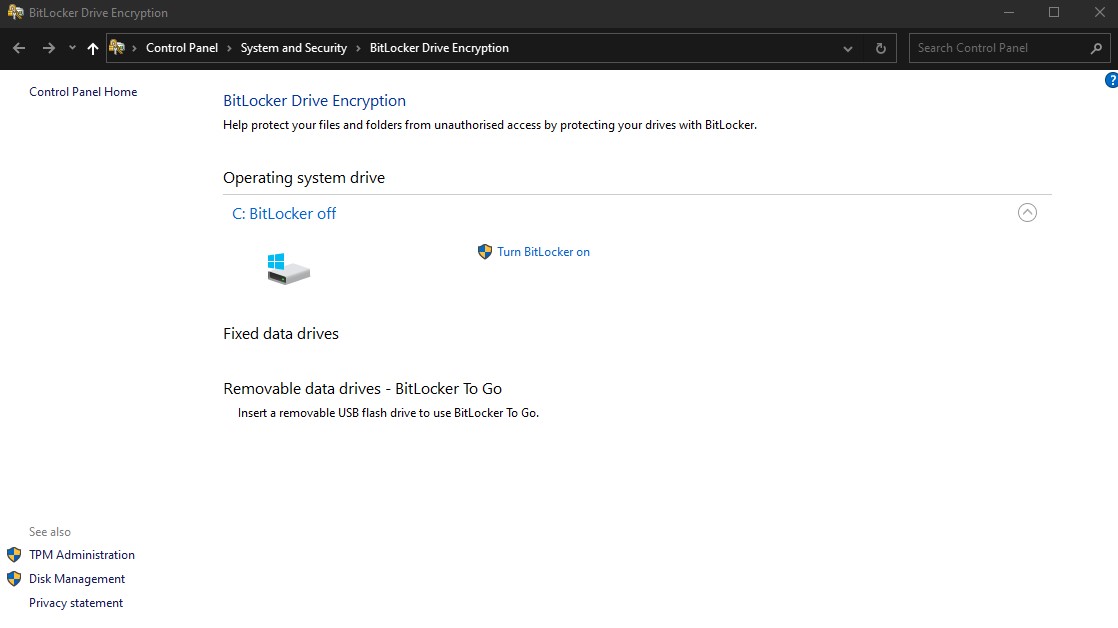
Type in bitlocker on the Windows magnifier icon (bottom left hand side on tasbar).
Click on Manage BitLocker.
Tun BitLocker on.
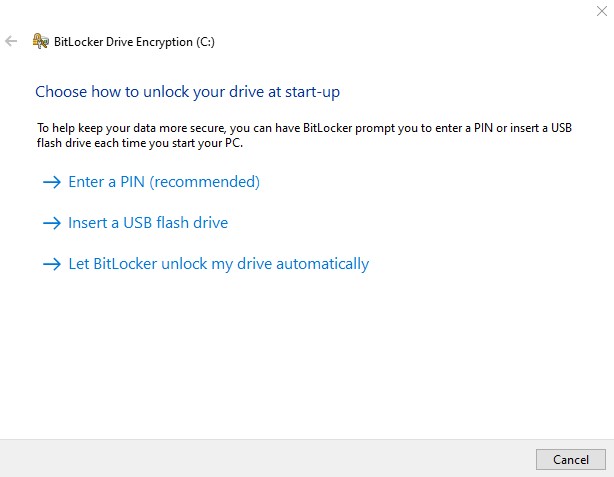
Enter a PIN (recommended)
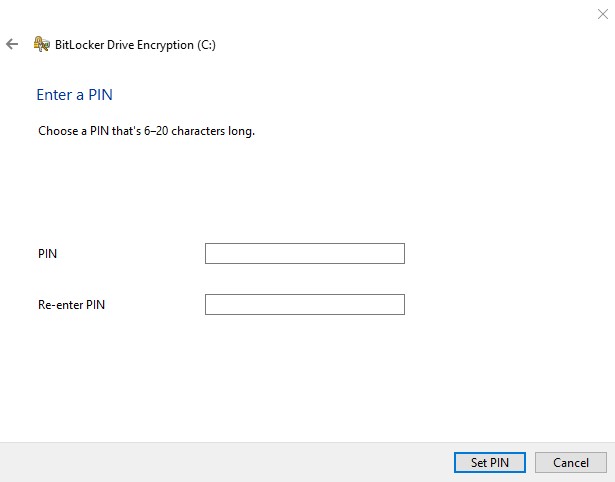
Type in your BitLocker Password and select “Set PIN”
Choose how you want to back up your recover key

I would select the first option and one of the other two options or all.
You can do all of them.
The recovery will come in handy in case you do a BIOS/UEFI update as it will detect a change and only once after the update, it will prompt for the recovery key.
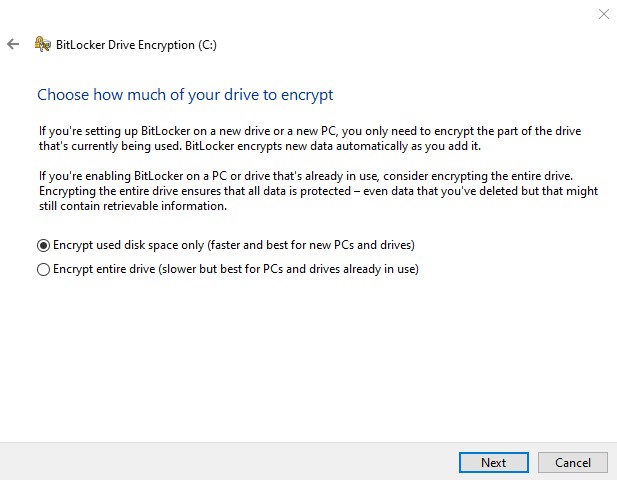
If this a fixed main drive that you use to load your Windows then select the first option. New encryption mode (best for fixed drives on this device)
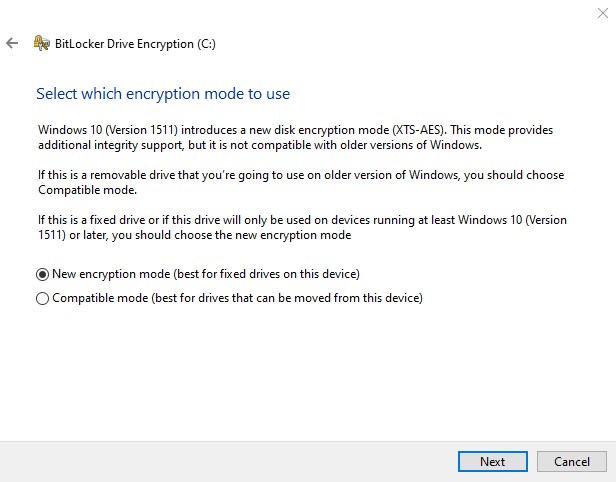
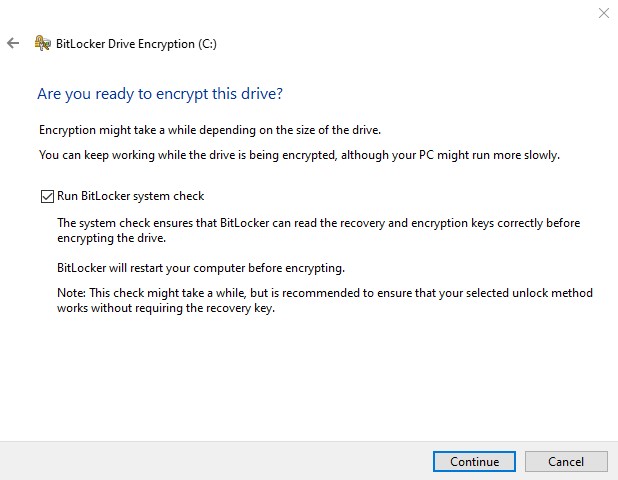
Restart your machine

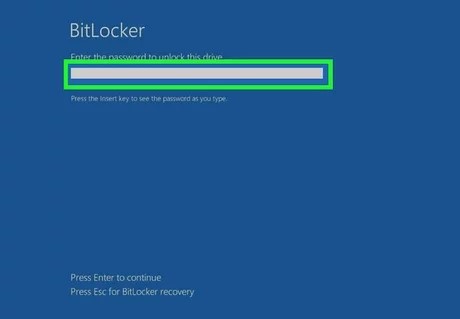
Now you will see the initial BitLocker screen prompting for the BitLocker password.
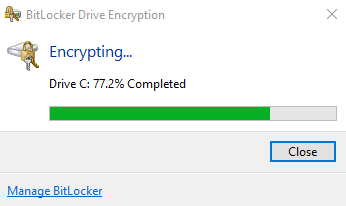
After logging back in, BitLocker will still be in progress but won’t take long if you’re on an SSD drive.
Click on your hidden icons at the bottom left hand side of your taskbar. Double click on the BitLocker icon.
![]()
References: